Part 6: Bringing the Image to Life – The Art of Inking and Printing
The carefully carved linoleum block is now ready to meet ink and paper to be born as a work of art. Inking and printing are the final stages of the linocut process and the decisive moment when all efforts come to fruition. This process is not merely a mechanical repetition but requires a sensory skill in understanding and delicately handling the properties of ink.
6.1. Preparing the Ink: Finding the Perfect Viscosity
Successful printing starts with perfectly prepared ink.
- Prepare the Inking Slab: First, prepare a clean, flat inking slab made of glass or acrylic.
- Squeeze Out the Ink: Squeeze a small amount of ink, about the size of a pea, onto the slab. It’s better to add more if needed than to start with too much, which is harder to control.
- Roll Out the Ink: Use a brayer (roller) to spread the ink thinly and evenly. Roll it in multiple directions within a rectangular area slightly wider than the brayer.
- Listen for the ‘Velvety Hiss’: The most crucial part of spreading the ink is to check its viscosity by ‘sound’ and ‘texture.’ When the ink reaches the right consistency, you’ll hear a sticky “hiss” or “zzz” sound as the roller passes over it. This is what experts call a ‘velvety hiss,’ a sign that the ink is spread perfectly—not too thin, not too thick. If it sounds squelchy, there’s too much ink; if there’s no sound, there’s too little. Visually, the surface should have a fine texture like smooth velvet. Mastering this feel is the key to high-quality prints.
6.2. Inking the Block: The Aesthetics of Uniformity
Now it’s time to transfer the well-spread ink to the carved linoleum block.
- Load the Roller: Roll the brayer over the inking slab to coat its surface evenly with ink.
- Multiple Thin Layers: Don’t try to apply a thick layer of ink at once. It’s much more effective to apply several thin layers. This prevents ink from seeping into the carved grooves and helps preserve fine details.
- Roll in Multiple Directions: When applying ink to the block, don’t just move the roller in one direction. Roll it up and down, left and right, and diagonally. This ensures that all the raised parts of the block are evenly coated with ink.
- Points of Caution: Pressing the roller too hard on the block can push ink into the carved areas, smudging the image. Also, lifting the roller abruptly from the block can leave ink marks, so it’s best to lift it off smoothly, like an airplane taking off.
6.3. Printing: By Hand
In most home settings without a press, the ‘hand burnishing’ method is used, with a baren or a spoon.
- Place the Paper: Carefully place the paper on the inked block. Once the paper touches the block, it must not move. Even the slightest shift will cause the image to blur.
- Rubbing (Burnishing): Place a thin, slippery protective sheet like baking paper or silicone paper over the printing paper. This prevents the paper from tearing and helps the baren glide smoothly. Using a baren or the back of a wooden spoon, rub the entire back of the paper with firm, even pressure. It’s important to move systematically in small circles, pressing down on every area of the image.
- The “Peek Test” Technique: This is an expert’s secret to dramatically increasing the success rate of hand printing. While firmly holding one end of the paper to the block with one hand, carefully lift the opposite corner to check if the ink has transferred well. If there are faint or patchy spots, gently lay the paper back down and rub those areas more firmly. This process can help you achieve a much more finished result.
6.4. Printing: Using a Press
In professional printmaking studios, an etching press is often used to print linocuts. A press can apply much stronger and more uniform pressure than by hand, which is especially useful for large works or printing on thick paper. Typically, the inked block and paper are placed on the press bed, the pressure is adjusted, and it is run through the rollers. Blankets (felts) are often used to distribute the pressure evenly.
6.5. Drying and Cleanup
Cleanup: Clean your tools immediately after finishing to prevent the ink from hardening. Water-based inks can be cleaned with soap and water, while oil-based inks can be cleaned first with vegetable oil and then finished with soap and water, or by using a dedicated solvent.
Drying: After printing, hang the artwork on a drying rack or a clothesline to prevent the ink from smudging. The drying time varies greatly depending on the type of ink and the humidity of the environment. Water-based inks can dry in a few hours, while oil-based inks may take several days to dry completely.
[ 여기에 광고 코드가 삽입됩니다 ]
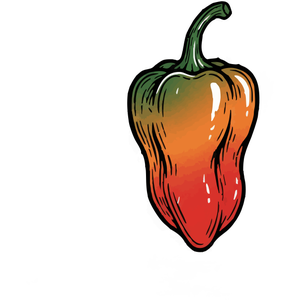
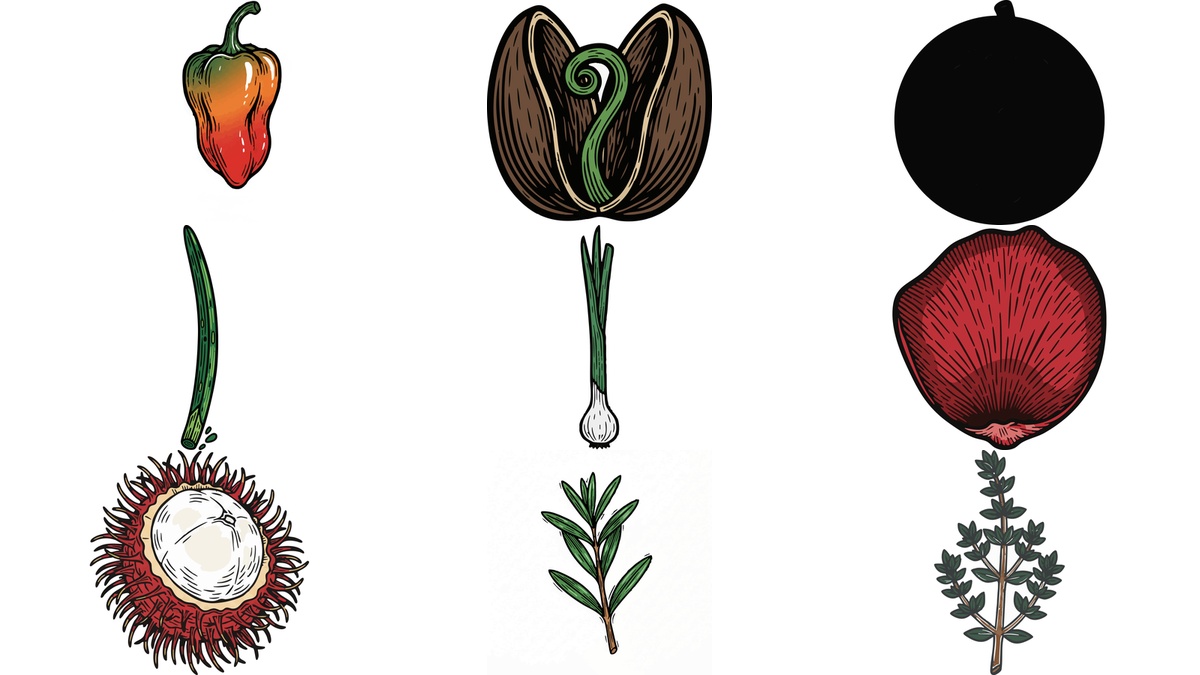
A Ripening Habanero |

A Romanesco Fractal |
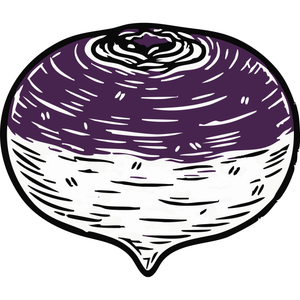
A Round Turnip |
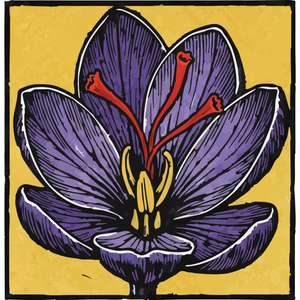
A Saffron Flower |
_1_Gemini_Generated_Image_ldsm5oldsm5oldsm.png)
A Salak (Snake Fruit) |
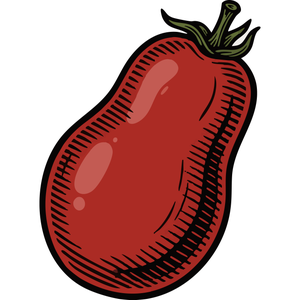
A San Marzano Tomato |
A Satsuma Orange |

A Sculpted Peach Pit |

A Seed Cracking Open |
A Sesame Seed Pod |
A Shelled Fava Bean |
A Shelled Macadamia Nut |
A Shelled Pistachio |

A Shiitake Mushroom |
A Single Acai Berry |
A Single Arugula Leaf |

A Single Bing Cherry |

A Single Black Mulberry |

A Single Black Olive |
A Single Black Peppercorn |
A Single Blade of Grass |
A Single Brazil Nut |
A Single Brussels Sprout |

A Single Carob Pod |

A Single Carrot |

A Single Cherry Blossom |
A Single Chive |

A Single Coffee Bean |
A Single Date Fruit |
A Single Dried Fig |
A Single Edamame Pod |
A Single Eggplant |
A Single Gooseberry |
A Single Green Bean |

A Single Green Olive |
A Single Green Onion |
A Single Green Pea |
A Single Kumquat |
A Single Lima Bean |
A Single Parsnip |
A Single Plantain |
A Single Red Apple |
A Single Red Currant |

A Single Red Rose |

A Single Rose Petal |

A Single Saffron Thread |
A Single Snowdrop |
A Single Strawberry |

A Single Sunflower Petal |
A Single Vanilla Bean |

A Slender Cucumber |
A Snapped Green Bean |
A Spaghetti Squash |
A Spiky Rambutan |
A Split Fig |

A Split Vanilla Bean |
A Sprig of Baby’s Breath |
A Sprig of Chervil |

A Sprig of Dill |
A Sprig of Eucalyptus |
A Sprig of Fresh Dill |
A Sprig of Fresh Sage |
A Sprig of Fresh Tarragon |

A Sprig of Lavender |
A Sprig of Lemon Balm |
A Sprig of Lovage |
A Sprig of Marjoram |
A Sprig of Oregano |
A Sprig of Rosemary |
A Sprig of Summer Savory |
A Sprig of Tarragon |
A Sprig of Thyme |
A Sprig of Wintergreen |
A Sprouting Acorn |

A Sprouting Potato |
A Stalk of Brussels Sprouts |

A Stalk of Celery |
A Stalk of Green Barley |

A Stalk of Lemongrass |
A Stalk of Rhubarb |
[ 여기에 광고 코드가 삽입됩니다 ]