Part 5: The Beginning of Creation – From Design to Carving
5.1. Designing for Linocut: Thinking in Black and White
Linocut is not an art of addition, but of subtraction. It is based on a subtractive process, creating an image by ‘removing’ the surface of the block with a carving tool. This requires a fundamentally different way of thinking from conventional drawing, where one adds black lines to white paper with a pencil. A linocut artist must think not about ‘what to draw,’ but ‘what to leave.’ One must imagine that the carved-away parts will appear as the white of the paper, and the uncarved, remaining parts will be the black of the ink. This understanding of ‘negative space’ is the key to successful linocut design.
Another crucial point to remember is the ‘mirror image’ reversal. The image carved into the block will appear reversed, like in a mirror, when printed on paper. This is not a major issue for landscapes or symmetrical designs, but for text or asymmetrical images with a specific orientation, the design must be flipped horizontally before being transferred to the block to get the desired result. The easiest way to check this is to take a photo of your sketch with a smartphone and use a photo editing app’s flip function. This allows you to visually confirm the final printed appearance in advance.
5.2. Transferring the Design: Various Methods
There are several ways to transfer your design onto the linoleum block, each with its own pros and cons.
- Graphite/Carbon Paper Method: This is the most common and reliable method for beginners. First, draw your design on tracing paper with a pencil. Then, place carbon paper on the linoleum block, followed by the tracing paper on top. Trace over the design lines again with a pencil or a pointed tool. The pressure will transfer the carbon pigment onto the block.
- Direct Drawing: The most intuitive method, using a pencil or permanent marker to draw directly onto the linoleum block. It’s suitable for spontaneous and free expression but is difficult to correct.
- Acetone/Solvent Transfer: This method uses a design printed from a ‘laser printer,’ not an inkjet. Place the printout image-side down on the block and rub the back with a cotton ball soaked in acetone or nail polish remover. The toner will dissolve and transfer to the block. It’s quick and easy, but results can be inconsistent depending on the type of linoleum or the amount of solvent used.
- Acrylic Medium/Glue Transfer: This process is more complex but yields the clearest image. Apply a thin layer of acrylic gel medium or PVA glue to both the image side of a laser printout and the linoleum block. Carefully press the two surfaces together, avoiding air bubbles, and let it dry completely. Then, wet the paper and gently rub it away with your fingers, leaving only the toner image on the block.
5.3. The Basics of Carving: Safety and Proper Posture
The most important thing in linocut is ‘safety.’ Carving tools are very sharp and can cause serious injury if mishandled. The following safety rules must be followed.
- The Golden Rule: Always carve away from your body, and never place your other hand in the path of the blade. The hand not holding the tool should always be behind the blade.
- Secure the Block: To prevent the block from slipping during carving, it is essential to use a safety device called a bench hook or place a non-slip mat underneath the block. This frees up both hands, allowing you to focus more on carving.
- Proper Posture: Place the end of the carving tool’s handle in the center of your palm, and extend your index finger along the metal part of the blade to guide and support it. Instead of using just your wrist strength, use your entire arm and body weight to push the tool steadily. This is the secret to creating smoother, more controlled lines.
5.4. Creating Lines and Textures: Mark-Making Techniques
Once you’ve mastered the safety rules, it’s time to learn carving techniques for various expressions. Before you start carving, it’s helpful to color the surface of the block with a permanent marker or diluted acrylic paint. This creates a contrast between the dark surface and the white carved areas, making it much easier to see your image as you work.
- Varying Line Width: Especially with a V-gouge, you can create a variety of line widths by adjusting the angle of the tool. Raising your wrist to make the tool steeper creates a deep, thick line, while lowering your wrist to flatten the angle creates a shallow, thin line.
- Carving Curves: To create smooth curves, don’t turn the hand holding the tool. Instead, use your other hand to slowly rotate the block itself as you carve. This will result in much smoother and more natural curves.
- Creating Various Textures: By applying different types of tools and techniques, you can create a variety of textures.
- Dots: Can be made by gently poking the surface with a U-gouge at an angle.
- Semicircles: Insert a U-gouge at a 45-degree angle, then lift the tool to break off the carved piece, creating a semicircle shape.
- Stars: Can be made by using a large V-gouge to carve from the tip of each point towards the center.
- Chatter: A rough, random texture can be created by quickly bouncing the blade across the surface.
These mark-making techniques are like an artist’s signature. The process of finding your own carving language through various experiments is the true joy of linocut.
[ 여기에 광고 코드가 삽입됩니다 ]
A Stalk of Sugarcane |

A Stalk of Wild Rice |
A Star Anise |
A Star Anise Pod |
A Star Fruit Slice |
A Star Jasmine Vine |
A Starfruit Slice |
A Stem of Sweet Peas |
A Strand of Angel Hair Pasta |
A Strawberry Calyx |

A Strawberry Surface |

A Sunchoke Root |
A Sweetcorn Cob |
A Sycamore Leaf |
A Tamarind Pod |
A Three Leaf Clover |

A Tomatillo in Husk |
A Tomato on the Vine |
A Tomato with a Water Drop |
A Trio of Berries |
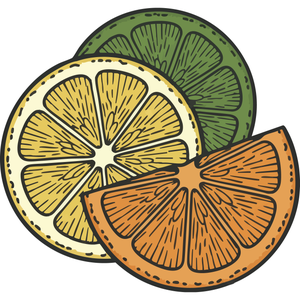
A Trio of Citrus Slices |
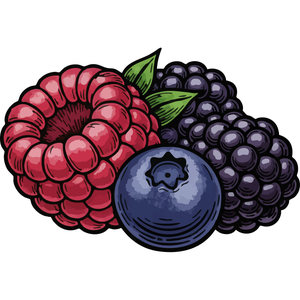
A Trio of Mixed Berries |
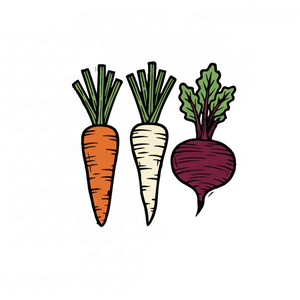
A Trio of Root Vegetables |
A Water Lily Pad |
A White Anemone |
A White Astrantia Flower |
A White Cosmo Flower |
A White Daisy |
A White Dogwood Flower |
A White Freesia Flower |
A White Gardenia |
A White Jasmine Flower |

A White Mushroom |
A White Orchid Bloom |

A White Poppy Flower |
_1_Gemini_Generated_Image_r38iomr38iomr38i.png)
A White Radish (Daikon) |
A White Stephanotis Flower |
A Whole Beetroot |
A Whole Breadfruit |
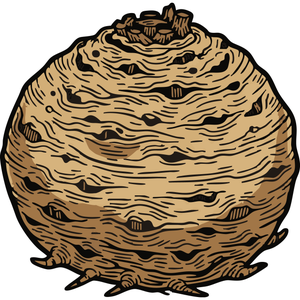
A Whole Celeriac |
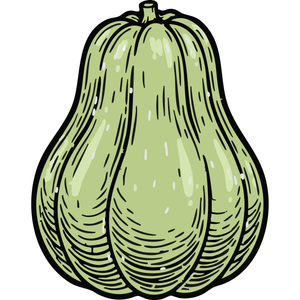
A Whole Chayote |
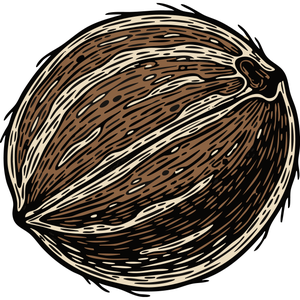
A Whole Coconut |

A Whole Dragon Fruit |

A Whole Durian |
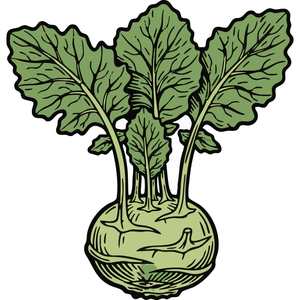
A Whole Kohlrabi |
A Whole Pineapple |
A Wilting Red Rose |
A Yellow Banksia Flower |
A Yellow Bell Pepper |
A Yellow Buttercup |
A Yellow Buttercup Flower |
A Yellow Cherry Tomato |
A Yellow Daffodil |
A Yellow Freesia |
A Yellow Ginkgo Leaf |
A Yellow Hibiscus |
A Yellow Snapdragon |

A Yellow Zinnia |

A Zucchini Blossom |
Allium Blossom on Stem |
Almond Crescent |

Aloe Vera Leaf Tip |
Aloe Vera Leaf and Slice |
An Acorn Squash |
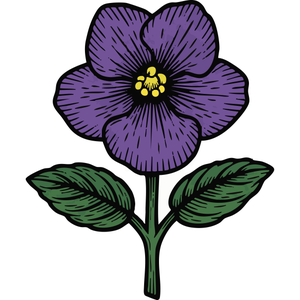
An African Violet |
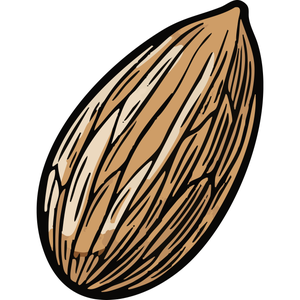
An Almond in its Shell |
An Almond on Branch |

An Anthurium Leaf |
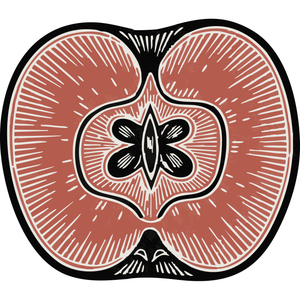
An Apple Cross Section |
An Apple with a Bite |
An Asparagus Spear |
An Ear of Wheat |
An Edelweiss Flower |
An Eggplant with Calyx |
An Oak Leaf |
An Oozing Ripe Fig |
An Open Artichoke |
An Open Cotton Boll |

An Open Pinecone |
An Orange Calendula |
[ 여기에 광고 코드가 삽입됩니다 ]